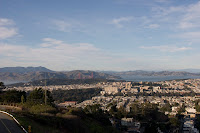
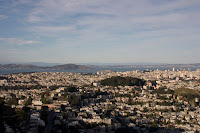
Here are the photos I am going to use:


Step 1:
Open File -> Scripts -> Load Files into Stack and load Layer dialogue box pops up. Browse to any files you want to use then click OK. You should see in the layer panel the picture you have stacked.
Step 2:
Now we got all our objects loaded into the stack here, we are going to attempt to stitch them all together using photomerge in adobe CS3. So select all the photo layers (Ctrl+Click/Shift+Click) to select more layers and go to Edit -> Auto-Align Layers. Now this is gonna bring up Align dialogue box. Choose Auto -> ok. This is what you should see.
Step 3:
What we need to do now is to get rid of the transparent area on top and the bottom and we also need to get rid of these themes here in the middle. Here I'm going to use crop tool and select the image area.Once satisfied, hit Enter
Step 4:
As you can see, there is still significant problems here with the tonality of this image. We could fix by adjusting opacity setting and level adjustments and stuff but Photoshop has a really nice built-in feature that allows us to blend images together. To do this, go to Edit -> Auto-Blend Layers. Photoshop will perfectly blend these 3 images together.There you have it. It's simple, easy and nice looking banner.


0 comments:
Post a Comment