

In adobe photoshop CS3, go to File --> Open to open your raw photo.
You should see camera raw dialogue box
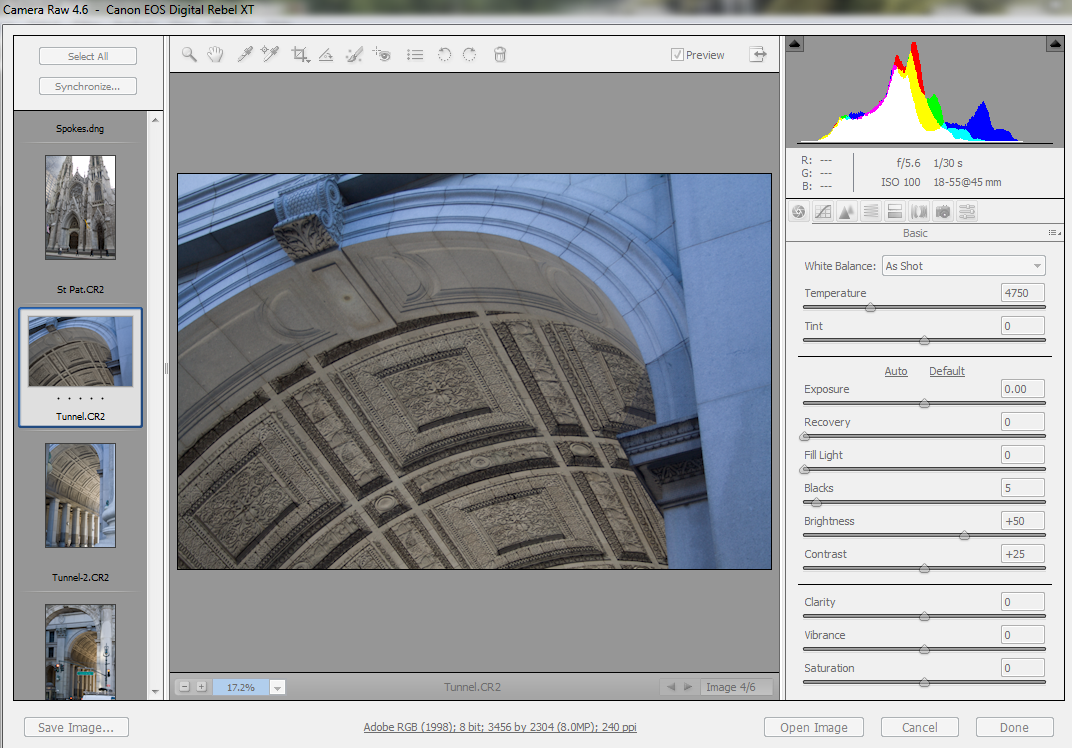
Step 2:
On the right side, change the drop down white balance to whatever your image was shot in. In this case, I chose Cloudy. Camera raw does a pretty good job for this but it's not correct yet.

Step 3:
On top, click on White Balance Tool or (Ctrl+Alt)+I and click on the portion of your image where you think has neutral color. For instance, I know the right top wall has a neutral gray color.So by clicking on that, the image will look warmer.

However if you think it's still not enough, you can slide the temperature or tint to your preference. Once satified, click Done. That's it.
By now, you can see how easy it is to deploy Camera Raw to adjust your photo to a better white balance and better photo.

1 comments:
Very informative, keep posting such good articles, it really helps to know about things.
Post a Comment